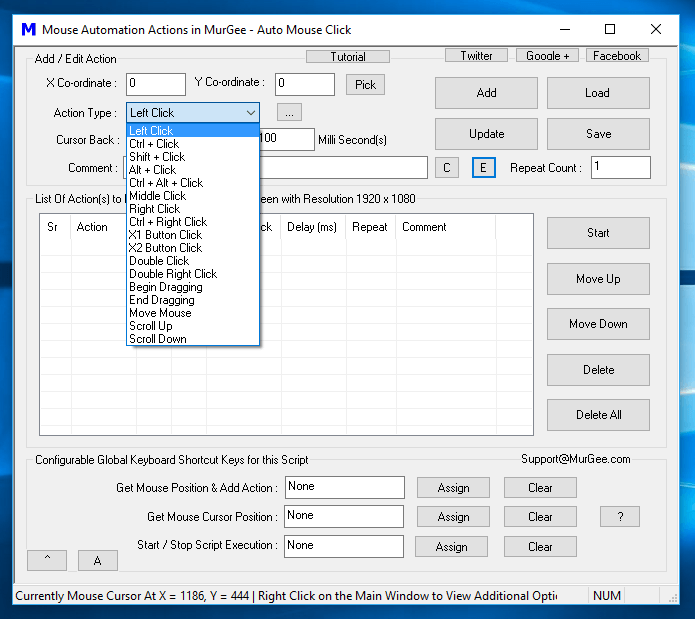
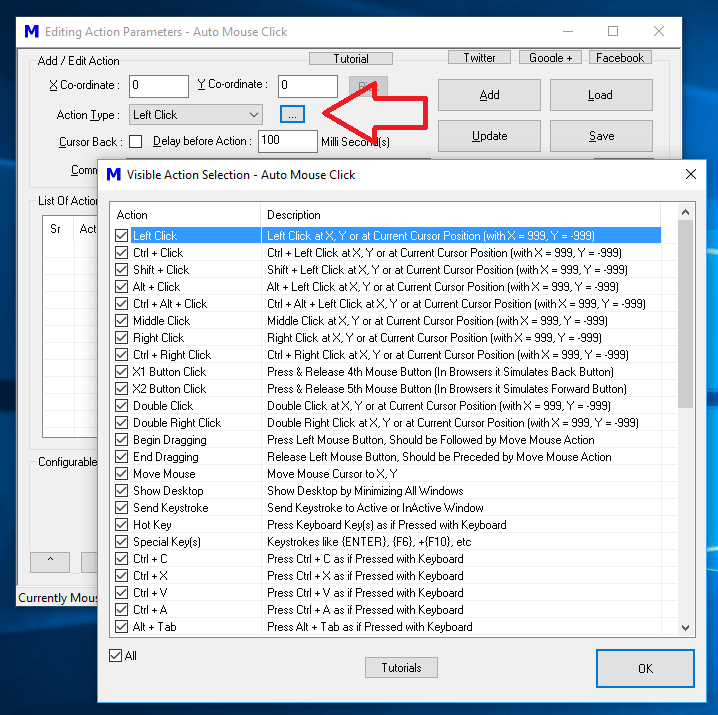
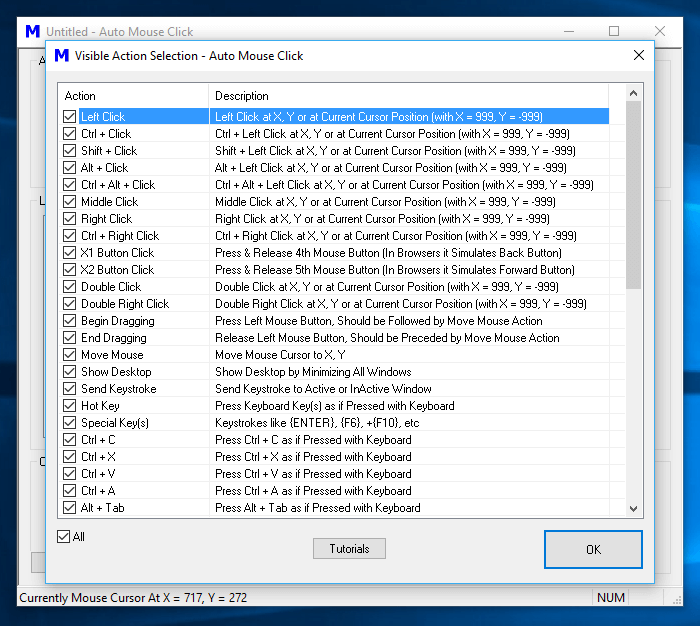
From your Macro Script, you can Auto Click at current Mouse Cursor Location by specifying specific screen co-ordinates of X = 999 and Y = -999. Note that the given below Screenshot of Visible Action Selector displays all the Mouse Related Actions which support Automation of Mouse Actions at current Screen Location and also action execution at specific screen location identified by screen co-ordinates.
Auto Click at Current Screen Location from Macro Script
When Screen Co-ordinates are specified as X = 999 and Y = -999, the Mouse Cursor is not moved by the Macro Script and the appropriate Mouse Action is executed at current Mouse Cursor Location. Given below Mouse Actions support Mouse Automation at current Mouse Cursor Location on Screen :
- Left Click
- Ctrl + Click
- Shift + Click
- Alt + Click
- Ctrl + Alt + Click
- Middle Mouse Click
- Right Click
- Ctrl + Right Click
- Double Click
- Double Right Click
For a Complete list of Mouse Actions which support Mouse Automation at Current Screen Location by specifying Screen Co-Ordinates as X = 999 and Y = -999, please do refer to the Mouse Actions for Mouse Automation post in this blog. Negative Screen Co-ordinates do exist and are available for Multiple Monitor Windows Computer when the Secondary Monitor(s) are laid out to the left of Primary Monitor in Virtual Screen Space.
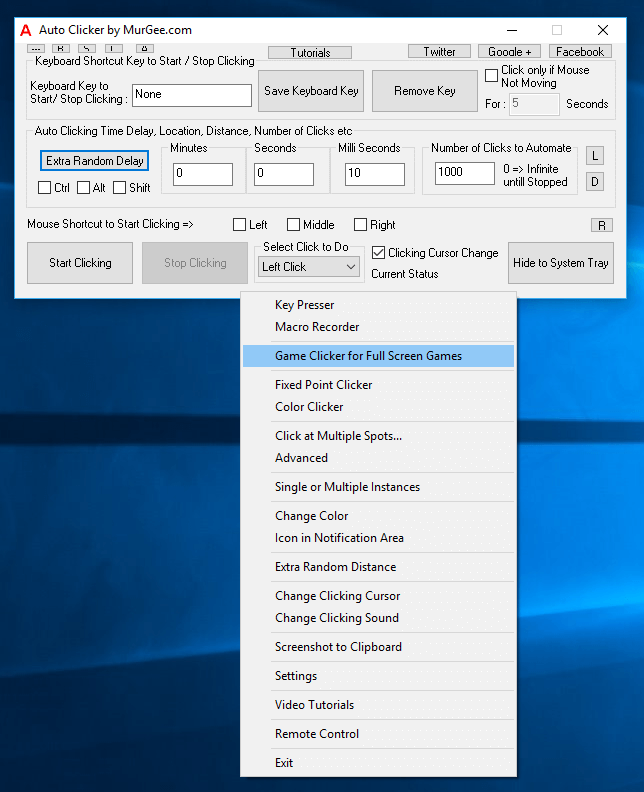
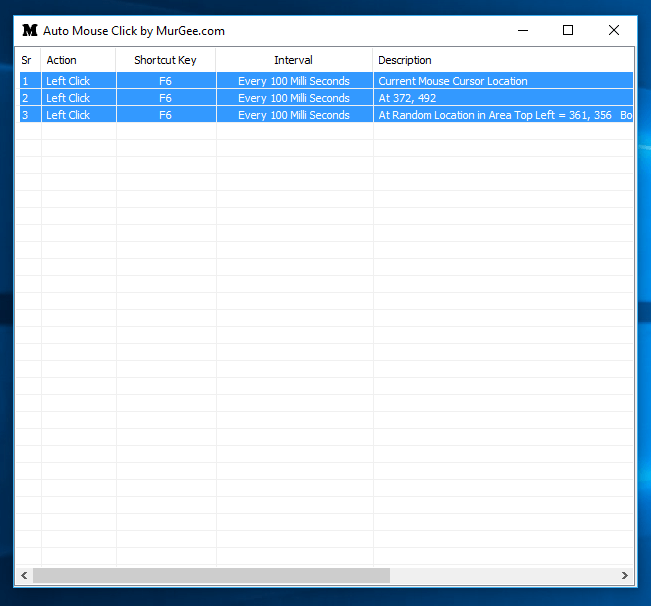
Auto Clicker for Windows to Click at Current Screen Location
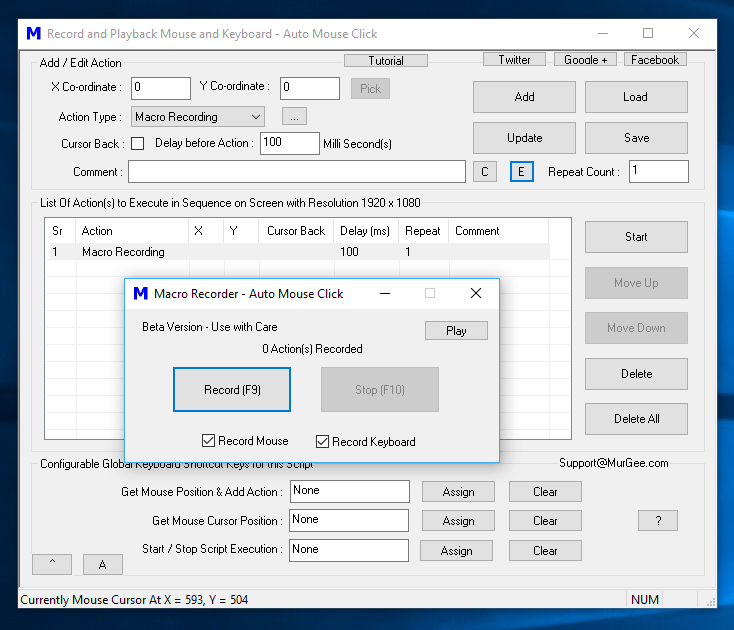
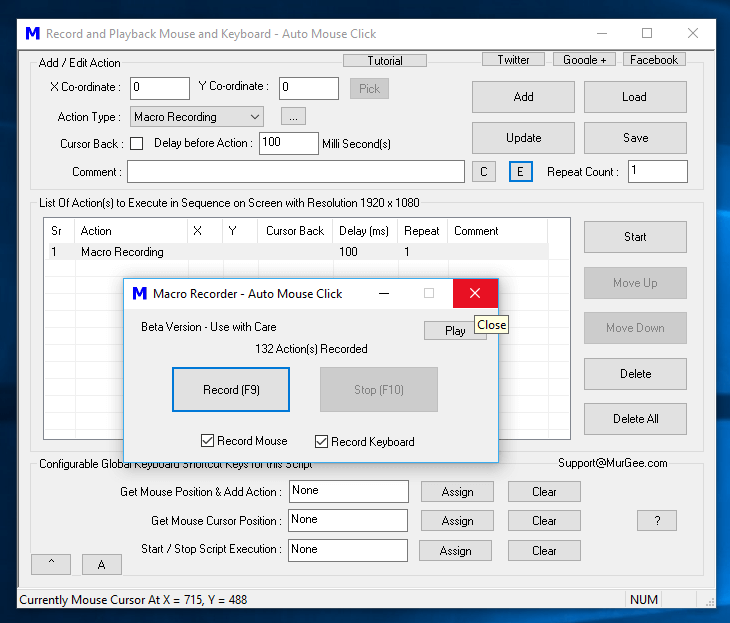
When you want to Auto Click at Current Screen Location without writing a Macro Script, you can use Auto Clicker which supports easy management of Keyboard Shortcut Keys, Speed of Automated Clicking, etc without writing a Macro Script. The Screenshot above displays Main Screen of another Mouse Automation Software which supports flexible and easy control of Speed with the help of Timing Control.