Let’s create a Automatic Mouse Moving and Mouse Clicking Script with the Auto Mouse Click Application for Windows. In order to Move Mouse to a specific Screen Location, we would need a Mouse Moving Action and for Clicking we would need a Mouse Clicking Action. Apart from the required Actions, we would need to plan the outcome of our Macro Script so that it does Moves Mouse to desired Screen Location and does performs Mouse Clicks as and when required.
Auto Mouse Mover and Clicker
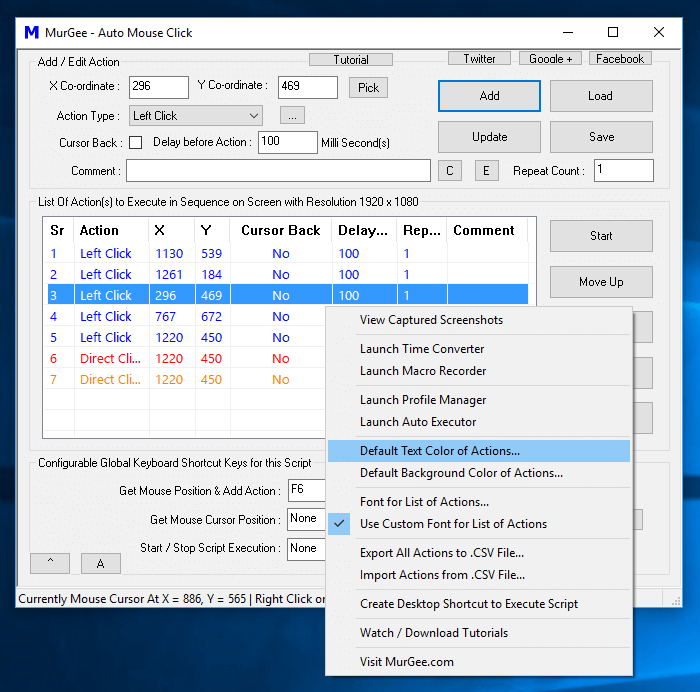
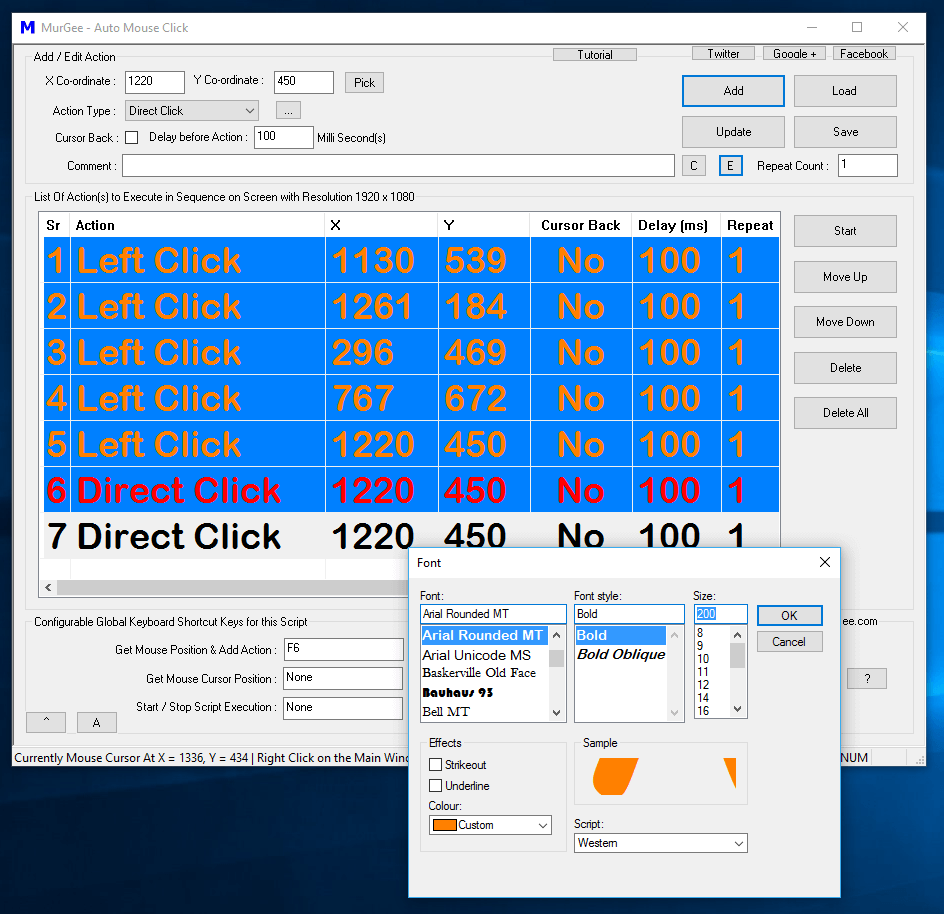
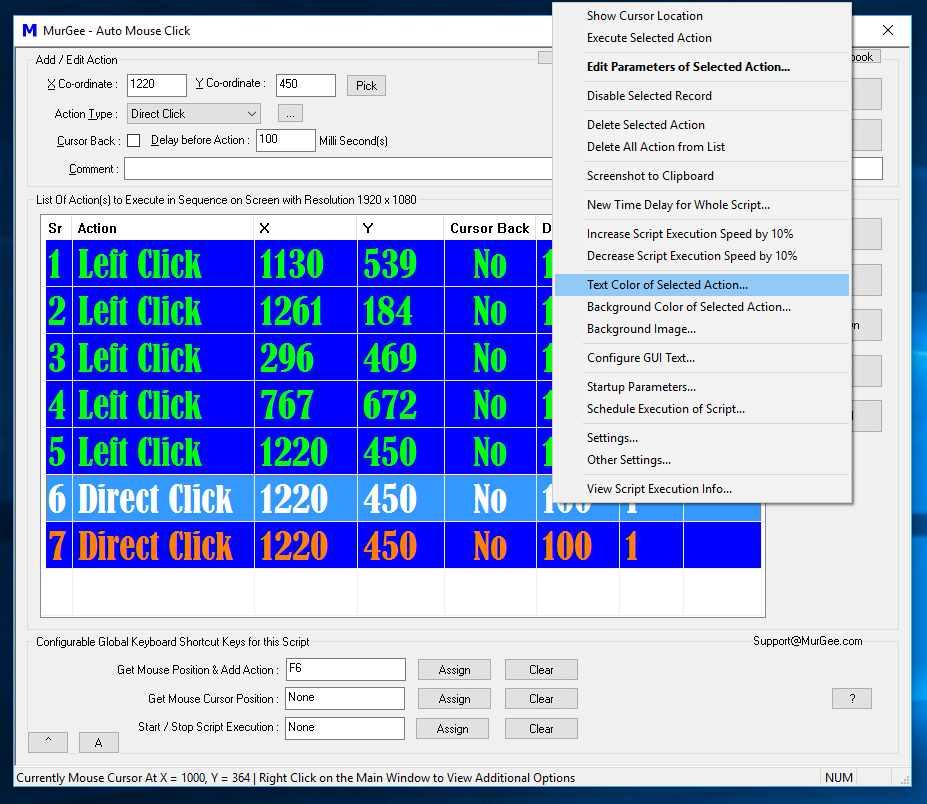
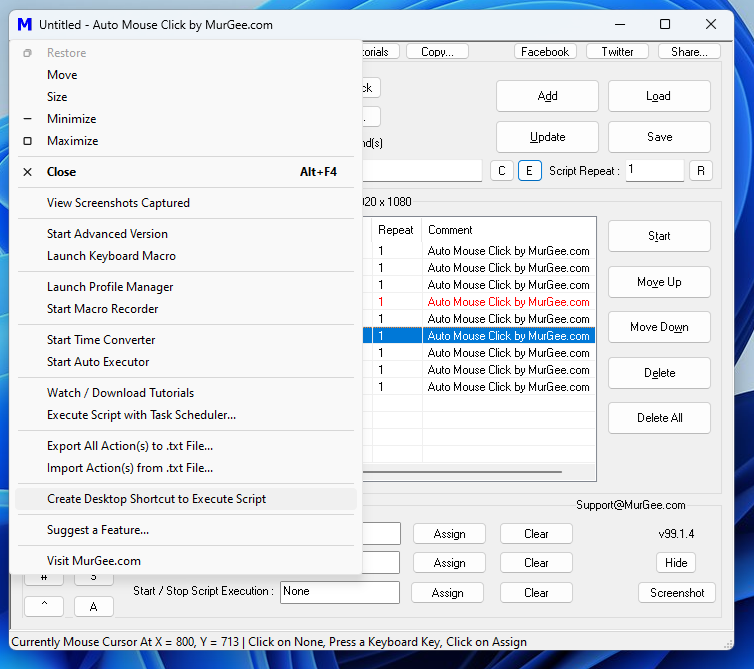
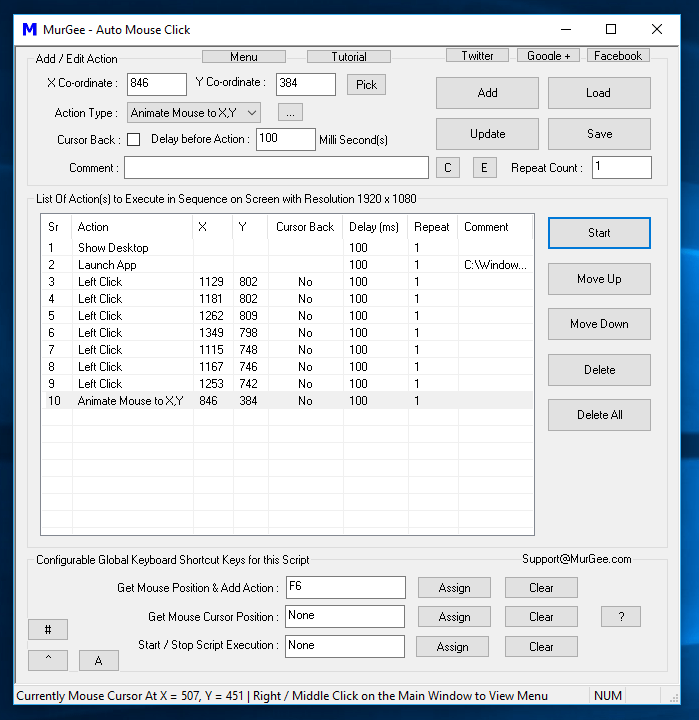
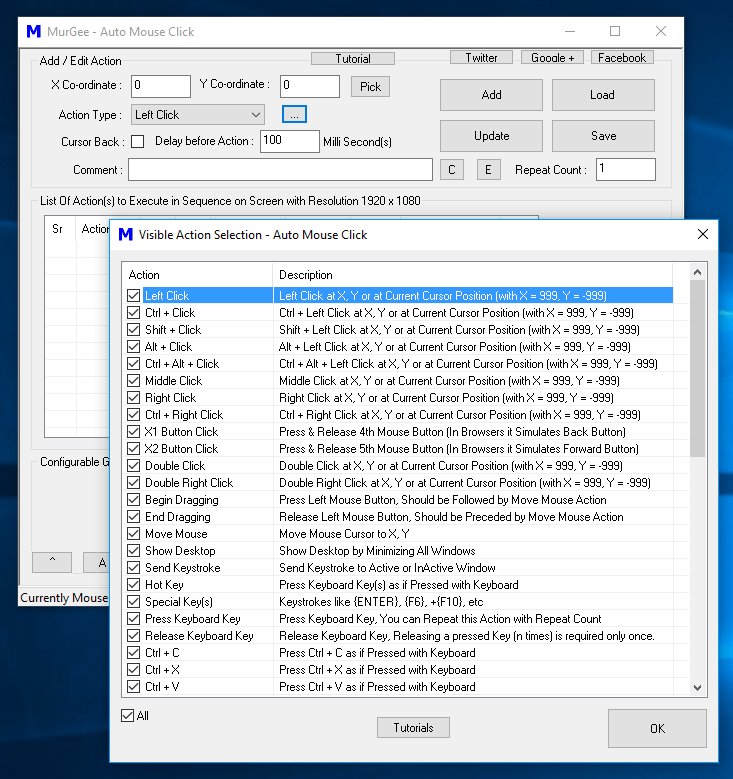
Do have a look at the above Screenshot which displays the Script to Move Mouse Cursor and Click with the Left Click Action. Yes the above Script uses some other Macro Actions and their purpose are as mentioned below:
- Show Desktop : This Action is Added to the Script to ensure that before Mouse Movement and Clicking starts, no other Application Window is visible on Screen so that the Script can launch required Application Windows and Auto Click on the Application Window.
- Launch App : This Action is used to Launch Windows Calculator on which our Script is going to Click and do some calculations.
- Left Click : This Mouse Action is used to simulate Left Mouse Click at desired Screen Location. Note that the X and Y Screen Co-Ordinates are specified along with the Left Click Action in the Script which relocates Mouse Cursor to the desired Screen Position before simulating the Mouse Click.
- Animate Mouse to X,Y : This Mouse Movement Action in the Macro Script simulates Human Mouse Movement to the Screen Location identified by X and Y Screen Co-Ordinates.
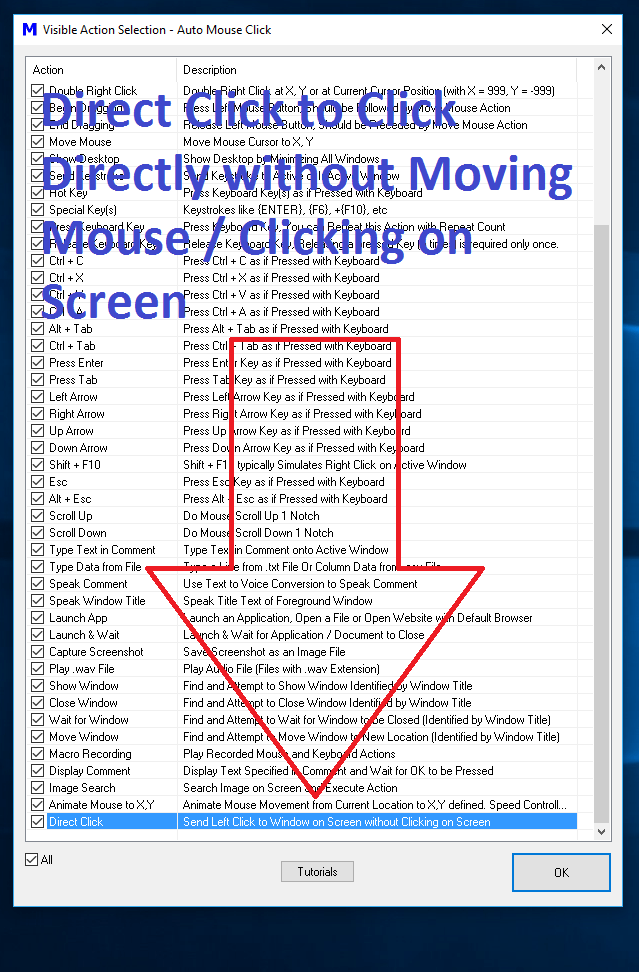
By Adding above mentioned Macro Actions in the Script which is a Automatic Mouse Movement and Mouse Clicking Script and is effectively a Auto Mouse Mover and Clicker. Some other Macro Actions have been used but they are optional and depending on the intended purpose of the Macro Action, they might or might not be required.
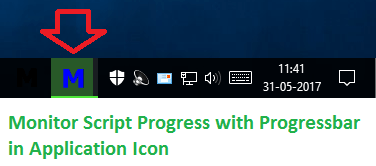
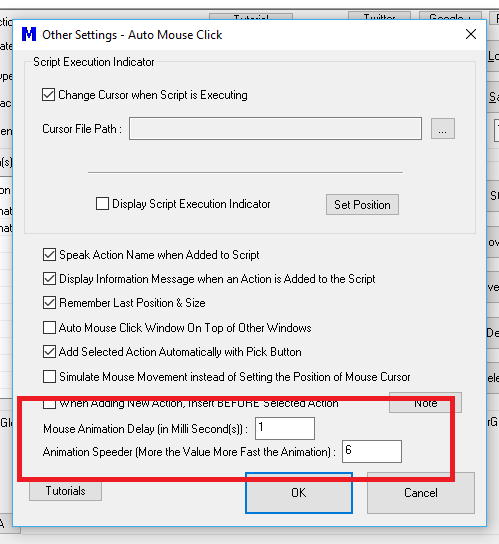
Script Execution Progress in Progress bar
Since there can be multiple Actions in a Macro Script, you can Monitor the Progress of your Mouse Clicking Script by looking at the Application Icon in Taskbar. As Displayed in the Screenshot above, the Application Icon in Taskbar displays a Progress Bar which progresses with Action Execution.
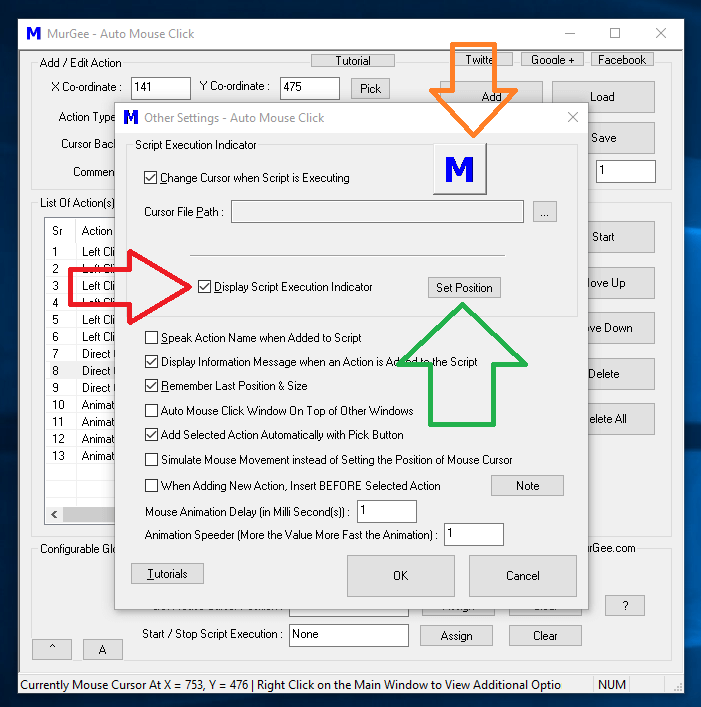
Settings to Control Display of Progress Bar in Application Icon and other settings of Auto Mouse Click
Yes, you do have full control over the Application’s behaviour as displayed in the above Screenshot where you can control whether to display the Progress Bar in Application Icon when the Script is executing. Note in the Above Screenshot, you can even control Mouse Movement Animation by controlling Mouse Cursor Movement Animation Delay and Mouse Cursor Movement Animation Speeder field.
Auto Mouse Click Software
You can use Auto Mouse Mover and Clicker to Automate Repetitive Windows Tasks or make a Presentation where your Mouse Cursor Actually Moves to different Screen Locations and Performs Mouse Clicking. Apart from Mouse Clicking, Mouse Movement, Mouse Cursor Movement Animation, you can make many different Macro Scripts to assist you in Repetitive Windows Tasks with Auto Mouse Click. This Application is Free to Download and try, works on Windows 10, Windows 8.1, Windows 8, Windows 7 and other Microsoft Windows Operating Systems running in 32 bit or 64 bit architectures. Making Mouse Cursor Move Automatically and Click at desired Screen Location is now really easy and quick to do.